AERO Solution
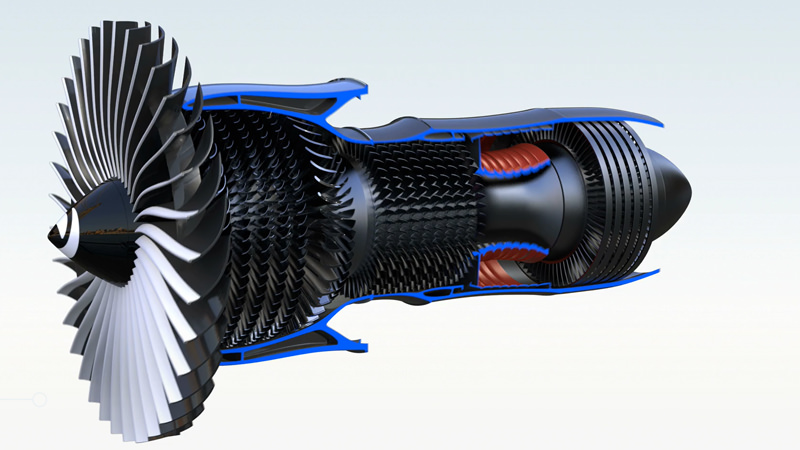
In the global aircraft market, which is expected to grow in the future, there is a need to obtain certifications and accreditation based on international standards as well as to ensure stringent quality control of components. In recent years, ACCRETECH has leveraged the measurement technologies we have cultivated to support everything from the development to the production of aircraft parts, including engine components, which are constantly evolving in functionality.
3D Measurement of Aircraft Engine Components in the Production Process - Cases
The case, which is a pressure-resistant vessel that encompasses the outside of the engine, is machined from difficult-to-cut materials such as titanium, just like other aircraft engine components. Advanced manufacturing technology is required to machine and finish oversized materials, sometimes measuring φ 1000 mm or more in diameter. This requires a large and high-precision measuring machine suitable for such workpieces. In addition, various components and piping are attached to the inside of the case, giving rise to many items that require inspection and thus making better measurement efficiency extremely important. Zeiss ACCURA offers a lineup of large models with a rotary table option for more efficient measurement. For cases, usually the circumferences of the outer and inner diameters are measured, which requires the stylus to be angled in many different directions when not using a rotary table. The rotary table option enables high-precision measurement of complex shapes with a 4-axis scanning measurement that synchronizes the rotary table rotation axis with the 3 axes of the measuring machine body. In addition, rotating the workpiece only requires one stylus angle, which means the entire circumference can be measured with minimal stylus configuration. This greatly reduces measurement time.

3D Measurement of Aircraft Engine Components in the Production Process – Blades
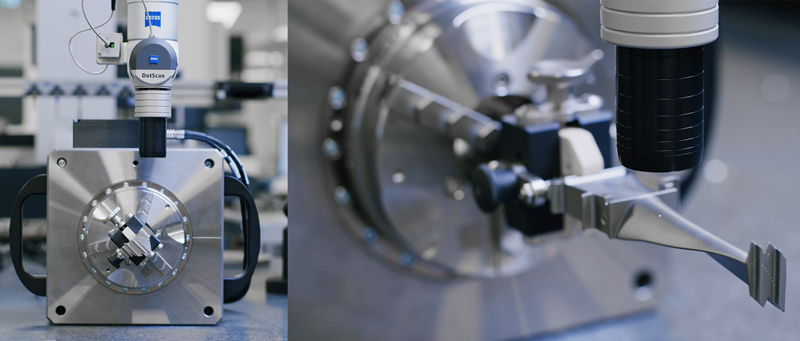
In recent years, blades require extremely high precision shapes due to the increasing demand for combustion efficiency. On each disc, many blades are attached at exact angles all along the circumference, and each blade has a three-dimensional twist. When measuring the edge part of a blade with high curvature using a contact-type method, it is necessary to adjust the stylus diameter and measurement speed to suit the shape. Another important part of contact measurement is to place a stylus in the normal direction of the workpiece, but it is very difficult to measure a consistent cross section at an edge with high curvature. The non-contact white light distance sensor, Zeiss DotScan, has a minimum spot diameter of 8 μm and can accurately measure shapes along an edge. In addition, combining the rotary table option synchronizes the X, Y, and Z-axes on the measuring machine itself with the program-controlled rotary table rotation axis. This allows the optical axis to be adjusted in the normal direction with respect to the workpiece, and blade shapes can be measured rapidly with high accuracy.

3D Measurement of Aircraft Engine Components in the Production Process - Shafts
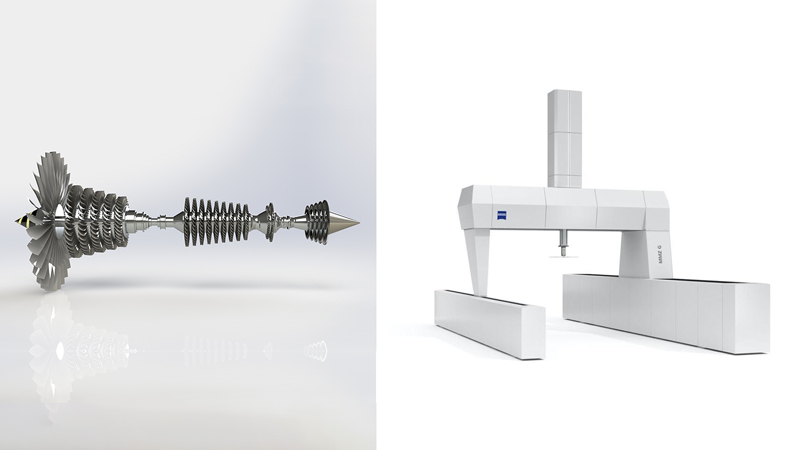
The shaft is an important hollow component running through the center of the engine that transmits power from the turbine to the fan. It requires high-precision machining due to its complex profile and can measure up to 3 meters in length for larger engines, requiring a large and high-precision measuring machine. The ZEISS MMZ series of ultra-large CMMs features an active scanning probe called VAST gold and allows the use of a stylus up to 1200 mm. In addition, the measurement force (contact pressure) control function, which is a feature of VAST gold, realizes high-precision scanning measurement even when using a long-axis stylus.

3D Measurement of Aircraft Engine Components in the Production Process - BLISK
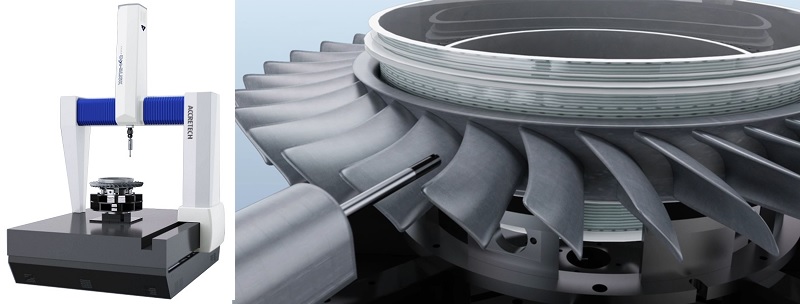
There is a growing demand for measuring the "blisk," a combination of the rotor disc and blade which are components of aircraft engines. Although the integrated blisk structure offers the advantages of reducing the number and weight of parts, the complex structure also demands more intricate measurement technology. Opt-BLISK's unique measurement path generation technology and 4-axis synchronized control of the XYZ-axes and rotating probe enable high-speed scanning measurements with optimal measurement paths to maintain sensitivity, even in blisks where blades overlap in close configuration. By combining AXCEL, a CMM with high acceleration, and a non-contact high-precision rotary probe, the measurement time has been shortened by about 60% compared to conventional contact sensor measurement.


