Interviews
The Research Institute for Applied Sciences (RIAS) possesses sophisticated development strength, exemplified by the fact it was the first in Japan to develop induction hardening of steel. We spoke to RIAS about why they began using ACCRETECH products and their impressions thereof.
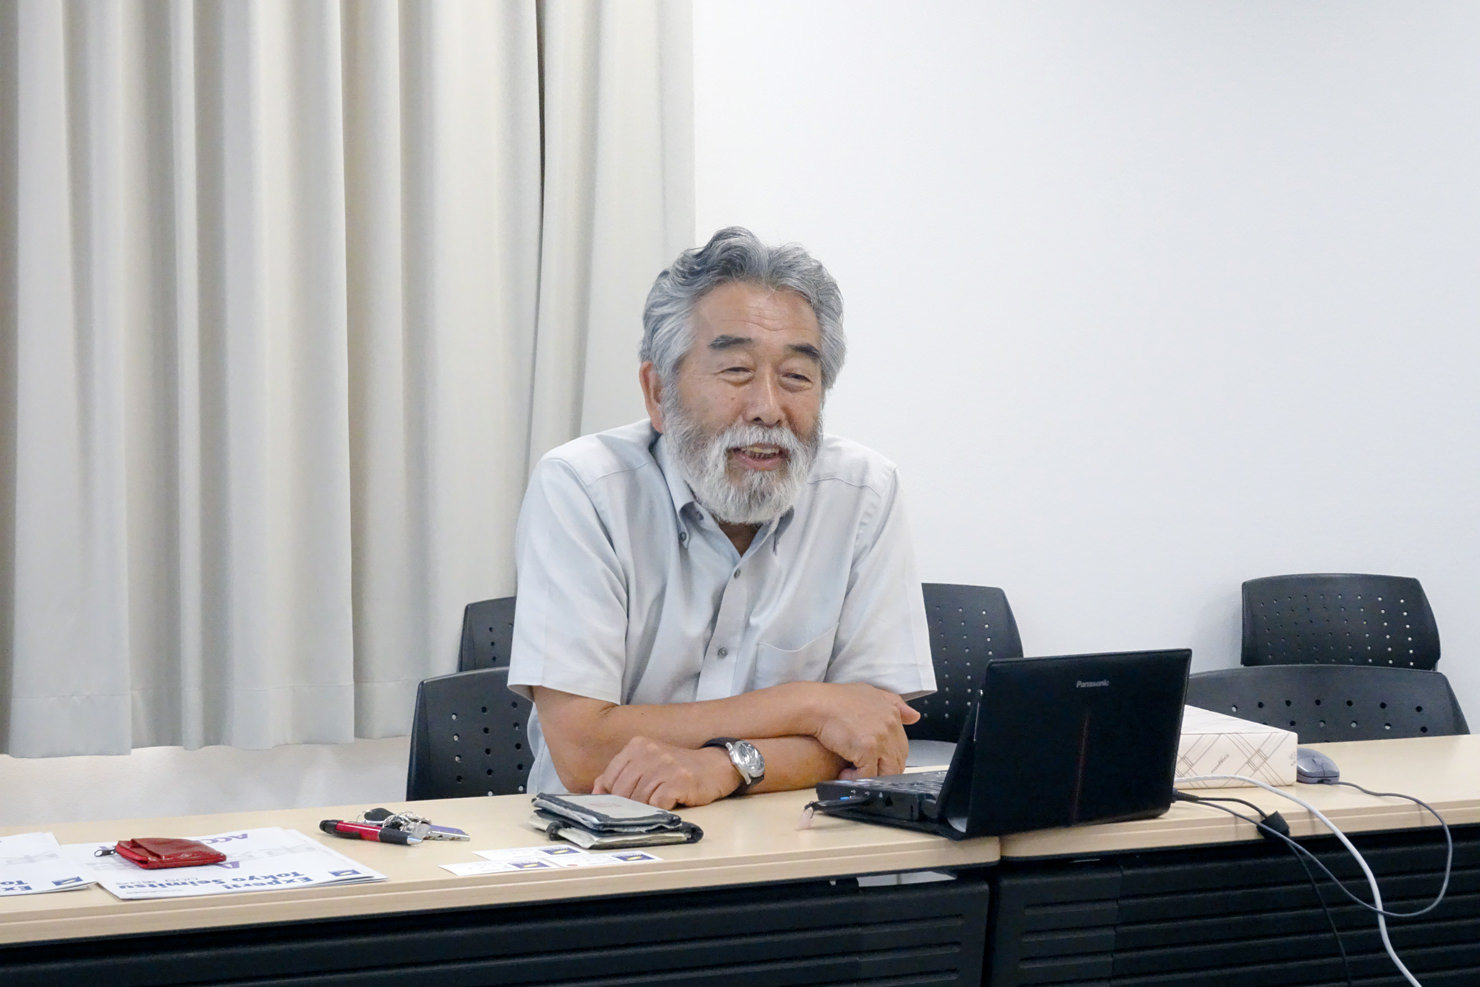
- RESEARCH INSTITUTE FOR APPLIED SCIENCES
- Aizoh KUBO, Executive Director of Research Institute for Applied SciencesProfessor Emeritus, Kyoto University
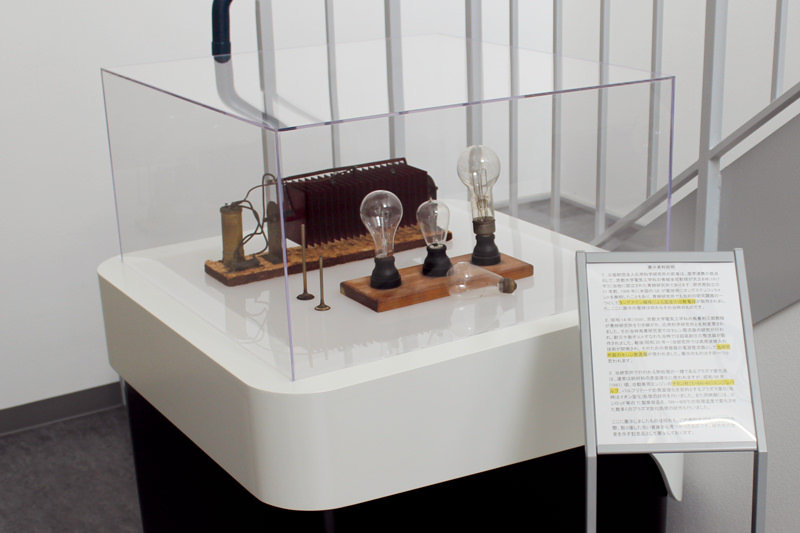
- In 1917, Professor Eiji Aoyagi of Kyoto University’s Faculty of Engineering, Division of Electrical and Electronics Engineering founded Aoyagi Research Institute, which later became RIAS. The institute has produced many research results on multiple engineering subjects, however, one of its greatest features is that it develops and manages its own original technologies as the birthplace of reinforcement processing technology (induction hardening) of steel using high-frequency induction heating. RIAS also engages in research relating to the longevity, higher performance, and resource-saving of mechanical parts with the aim of contributing to the sustainable advancement of Japan’s machinery infrastructure technology industries.
- Location: 49 Tanaka-Oicho, Sakyo, Kyoto city, Kyoto prefecture, 606-8202,Japan
http://www.rias.or.jp/indexp.php
Please tell us a bit about your institute
Kubo: Our institute dates back to Japan’s Taisho era (1912-1926) and was founded by Professor Aoyagi of Kyoto University’s Faculty of Engineering, Division of Electrical and Electronics Engineering for the research of tungsten filament. Afterwards, Risaburo Torigai was appointed president of Kyoto University and became the first in Japan to develop reinforcement processing technology (induction hardening) of steel using high-frequency induction heating. RIAS also further advanced research into plasma nitriding technology, and these two areas are still extremely difficult ones no one but us pursues even today. Two years ago, we opened a machinery infrastructure research facility for new R&D activities demanded by society. This means we can now make products designed in CAD, measure their geometric accuracy right there on the spot, and perform metallurgical property inspections.
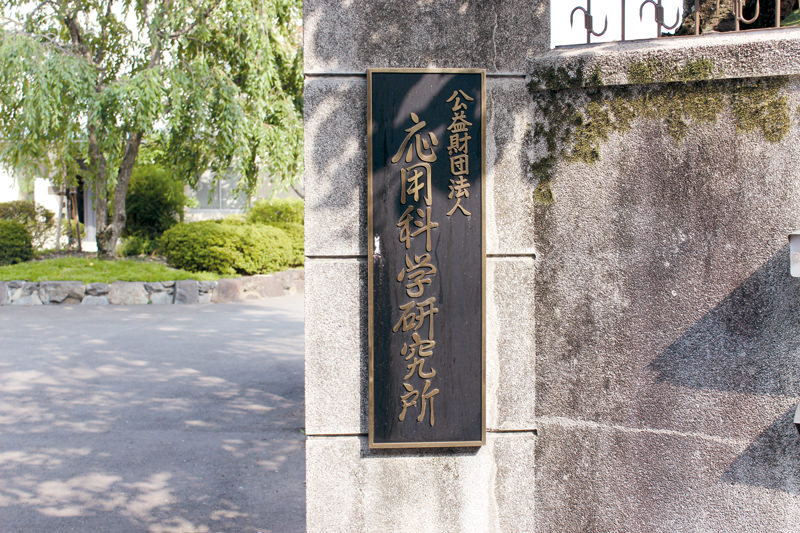
Why did you decide to introduce Tokyo Seimitsu’s measuring equipment to your institute?
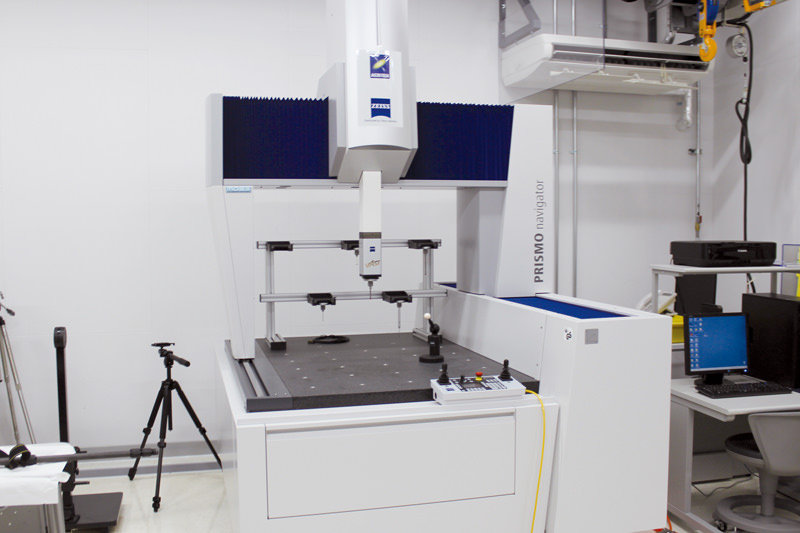
Kubo: I spent some time in Germany when I was young, and after I returned to Japan, Carl Zeiss asked me to help because it wanted to sell CMMs in Japan. It was at that time my contact person at Zeiss introduced be to ACCRETECH, and we developed a close relationship. When we decided to open our machine infrastructure research facility, I thought that the introduction of a CMM was essential, and I was friendly with ACCRETECH’s current president, so we purchased a Zeiss CMM from your company.
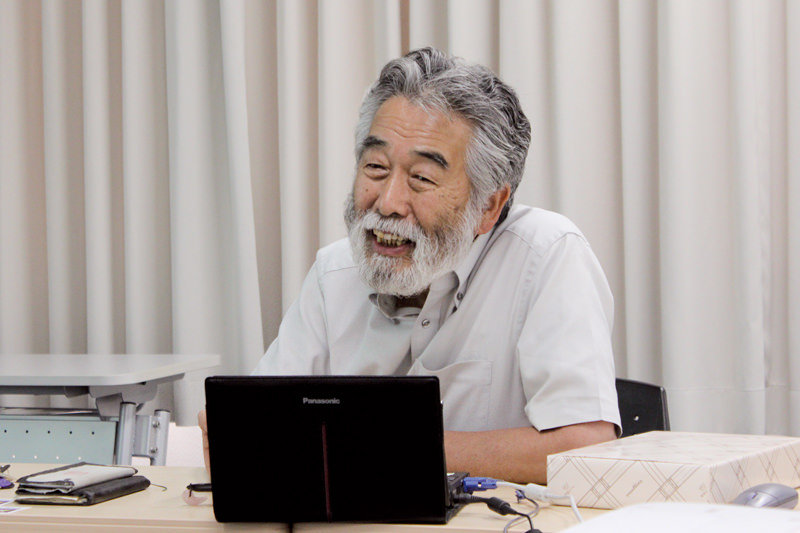
Please tell us your impressions of ACCRETECH's measuring equipment
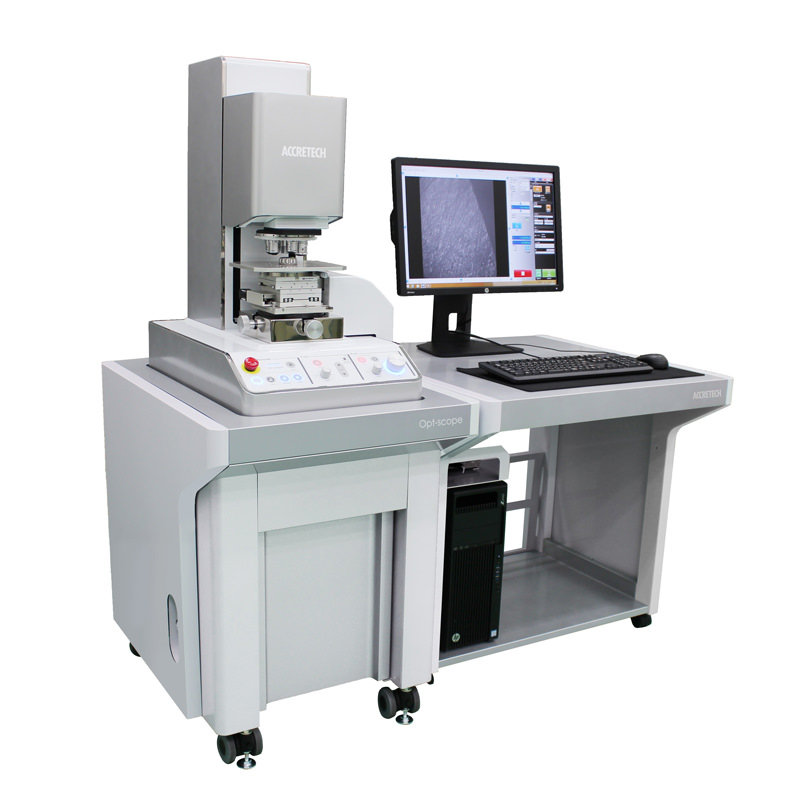
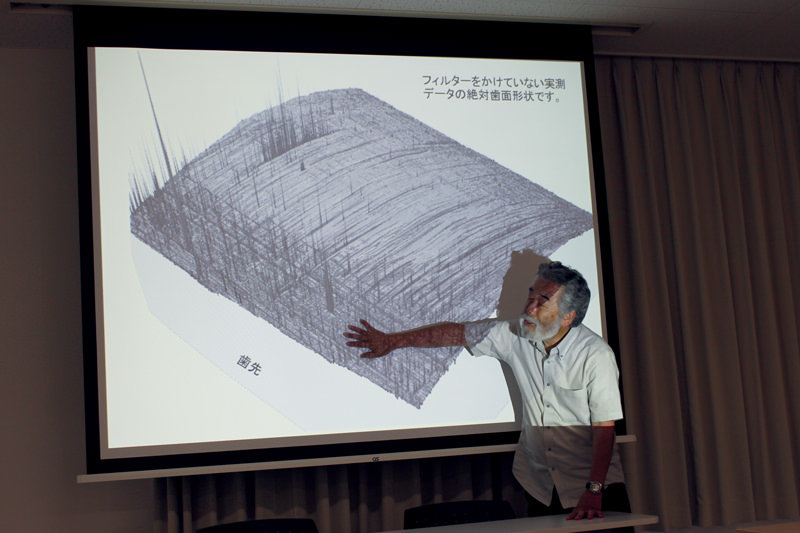
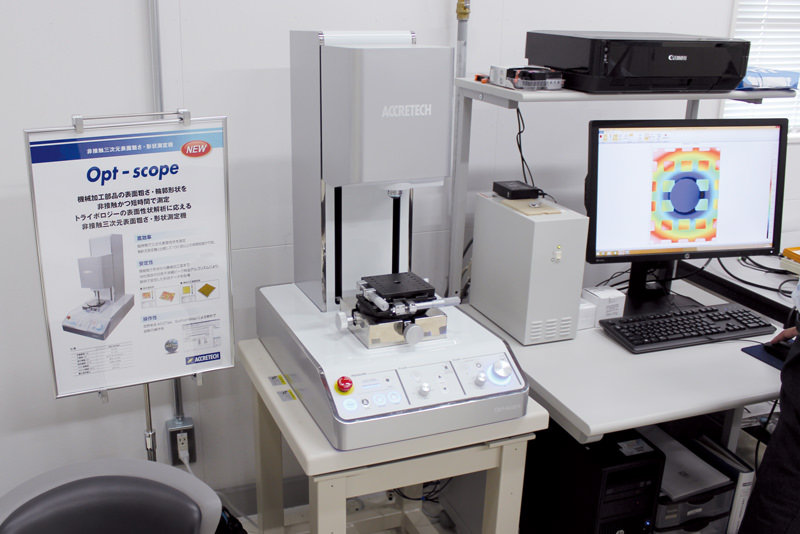
Kubo: I'm quite satisfied with the performance of your products. I often hear that measuring machines utilizing white light interference are affected by disturbances or are very sensitive, but ACCRETECH's measuring machines are not so difficult to use, and I think that's quite impressive. We mostly use Opt-scope to look at the damaged face of a mechanical part where an accident has occurred. My specialty is to consider the causes and countermeasures for mechanical parts, especially when a gear collapses, and measuring machines that can see the damaged face with detailed accuracy are quite difficult, so I truly treasure Opt-scope as it allows me to see the surface shape as if looking at a photograph. A normal photograph would be majorly affected by light, and depending on how the photograph is taken, give people an impression that differs from reality. However, because the Opt-scope is a machine that measures the distance from the optical flat as a precise map, it is not affected by such factors and can tell us quite a lot about the subject.
Are you dissatisfied with any aspect of our measuring equipment?
Kubo: One point would be that it isn’t clear whether a certain subject for measurement can actually be measured with the equipment until we try it. We’ve had instances where we couldn’t measure a machine part of a certain shape because it collided with the equipment’s lens area. I don’t believe this issue is unique to Opt-scope but rather a very fundamental problem that can be said about measuring equipment in general, however, as a user, I would appreciate a solution.
How do you think measuring equipment will play an active role in the future?
Kubo: The quality of steel is very important for machines, but now there is a demand to use inexpensive products such as those made overseas due to price reasons. In such a case, the actual quality may be different from what the customer thinks, which leads to trouble. Currently, there is no optimal method of determining such quality. I think it would be possible to make a good decision if Opt-scope etc. was used efficiently in such circumstances. If this is achieved, people in different fields to users to date will be interested. I would like to study this together with ACCRETECH as an item for the future. I think Opt-scope should demonstrate the advantage of a precise 3D contour measuring machine rather than just a surface roughness measuring machine. The only difference between "roughness" and "contour" is how much frequency component of the surface’s 3D geometric shape is taken. Also, the contour and low frequency component are more important (than roughness) to the machine. It would be quite useful to be able to see this in precision dimensional accuracy as a 3D shape using non-contact measurement.
Do you have any further expectations of measuring equipment and ACCRETECH?
Kubo: Measuring machines are difficult, and different users have completely different requirements. Some users want measurements as close to actual as possible, while others don't require that level of precision. It is difficult, but I think it is important to respond not only to accuracy but also various application scenes.
Tokyo Seimitsu’s thoughts after speaking
In recent years, in addition to surface modification technology for steel materials and various metal materials, RIAS has been focusing further on the development of new evaluation methods for the quality of metal materials. In addition to its research achievements cultivated throughout its long history, RIAS has established R&D systems related to technological guidance and technology transfer to industry, initiatives for human resource development projects, development of arbitrary 3D shape production methods, and improvement of surface integrity in surface treatment. As other companies race to catch up to Japan, we felt that RIAS is proactively pushing ahead with new strategies to support Japanese monozukuri.
