Interviews
Kawasaki Heavy Industries is active in a broad variety of business fields and offers a range of innovative products. We spoke to them about how they came to use ACCRETECH products and their impressions thereof.

- Kawasaki Heavy Industries, Ltd.
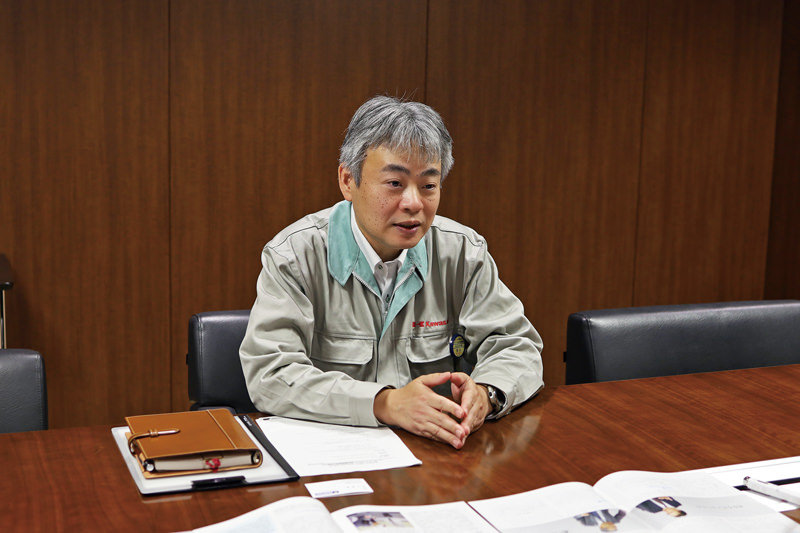
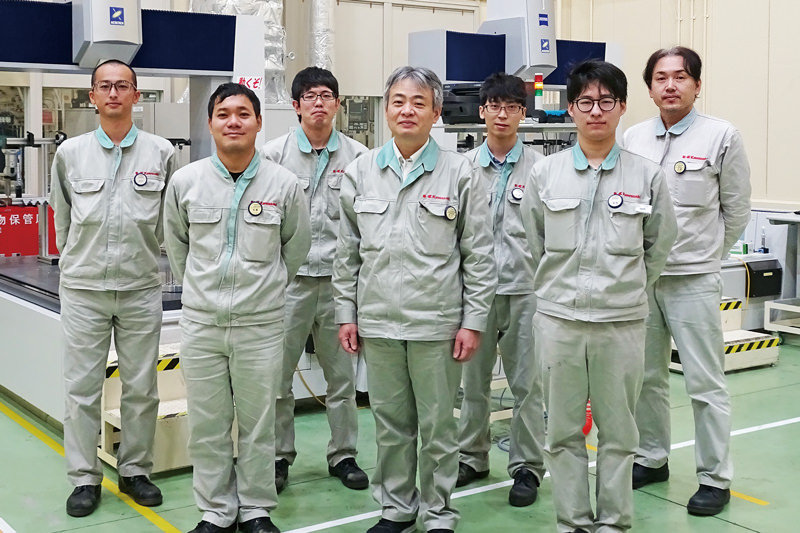
- Yoshihiro Ichikawa, Senior Staff Officer, Engine QA Engineering Section,
Engine Quality Assurance Department, Engine QM Group, Aero Engine Business Division, Aerospace Systems Company - Kawasaki's origins date back to 1878, when the founder, Shozo Kawasaki, established Kawasaki Tsukiji Shipyard in Tsukiji, a district of Tokyo. Eighteen years later, in October 1896, the company was incorporated as Kawasaki Dockyard Co., Ltd. Today, the “Kawasaki” brand is renown across the globe for offering products in a vast range of business areas, including aerospace, where the company deals in not only aircraft and jet engines but also artificial satellites, as well as shipbuilding, rolling stock, energy and environment related systems, various industrial machinery such as hydraulic equipment and industrial robots, and leisure products such as motorcycles and jet skis ®.
- Tokyo Head Office: 1-14-5, Kaigan, Minato-ku, Tokyo 105-8315, Japan
Kobe Head Office: Kobe Crystal Tower, 1-3, Higashikawasaki-cho 1-chome, Chuo-ku, Kobe, Hyogo 650-8680, Japan
Akashi Works: 1-1, Kawasaki-cho, Akashi, Hyogo 673-8666, Japan
Seishin Works: 8-1, Takatsukadai 2-chome, Nishi-ku, Kobe, Hyogo 651-2271, Japan
http://www.khi.co.jp/
Please tell us about what you do, Mr. Ichikawa
We analyze and evaluate the measurement systems used in product inspection from a technical point of view to ensure that the quality of aircraft engine parts is highly reliable, verify the validity of product dimensions, and make improvements for higher precision and more stable quality. Our job is also to respond appropriately to the more stringent quality requirements of our customers. This year, demand has slowed down due to the effects of the COVID pandemic, and we are taking this as an opportunity to carry out various activities to achieve a higher level of quality control. To achieve this, innovation in measurement technology is indispensable, and ACCRETECH is working on solving various technical issues based on the know-how and achievements you have accumulated over the years as a measuring instruments manufacturer.

What led you to introduce ACCRETECH’s blisk measuring machine?
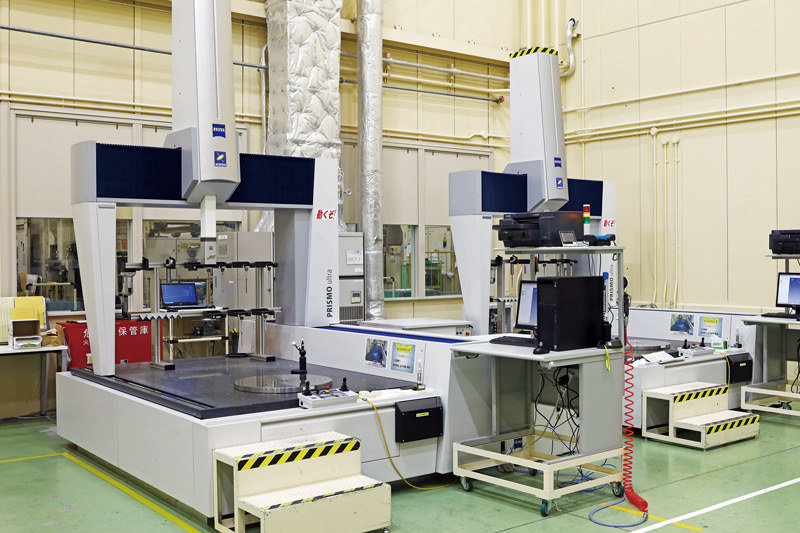
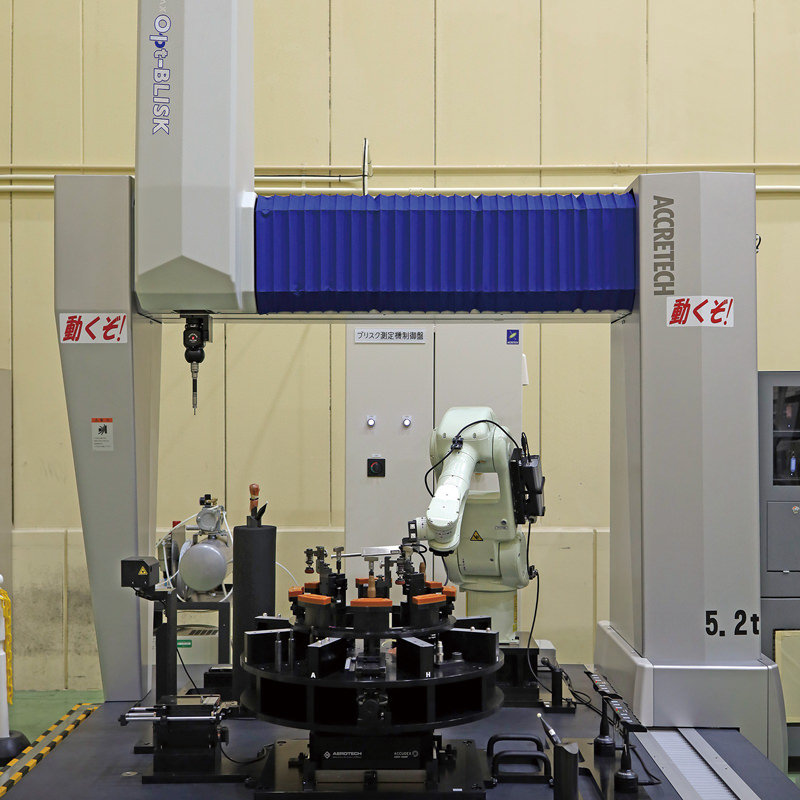
When selecting a CMM, at least the technical requirements must be satisfied. We need to think not only about current functions but additional functions that will be required to satisfy the new needs we predict we will have in the future. In the case of Brisk measurement, it was difficult to use existing technologies. At times like this, we want a partner that will work with us to create the machine we are looking for, and ACCRETECH is such a partner. Until now, blisk measurement has required an extremely high number of manhours to perform. Therefore, we wanted a measuring system that could halve the measurement time and improve productivity by increasing measurement speed, and that would also contribute to reducing capital investment and have a smaller footprint, while satisfying the required accuracy. For this reason, we considered a non-contact measurement system, but no manufacturer had a non-contact CMM capable of high-speed, high-accuracy measurement in a narrow space between blades that satisfied our needs. It was at that point ACCRETECH agreed to collaborate with us to develop a CMM that met our specific needs. It isn't easy to find a measuring equipment manufacturer in Japan willing to collaborate on developing a customized machine, so we were extremely grateful when ACCRETECH raised its hand to help us.

Now that you’ve actually introduced a blisk measuring machine to your operations, what are your impressions of it?
Before we installed the blisk measuring machine, we had expectations that it would give us measurement results with minimal variation. As such, it needed to have extremely precise sensors and be a highly accurate measuring machine itself as a solid foundation of measurements. We are happy that, after actually installing the machine, it has indeed given us measurement results with minimal variation, just as we expected. In addition, we have been pleasantly surprised with many other benefits. For example, the improved accuracy of the machine allows us to obtain measurement results with higher reliability, thus reducing the need for re-measurement. Another benefit is the ability to perform cause analysis with ease. We had to begin analysis by first identifying whether it was the measurement results that varied or the actual products themselves, but now thanks to high measurement accuracy and reliability, we proceed with cause analysis without being too conscious of measurement variability.

What kind of measuring equipment would you like to see in the future?
There are some measurements that conventional contact-type CMM are not good at. For example, minute circular arcs and steps. Normally, contour measuring instrument are used for such measurements, but for large sized products, it is necessary to take a replica and measure it, which requires a lot of man-hours for inspectors. In the future, we would like to use non-contact CMM for this purpose. Unlike the contact type, the non-contact type is capable of capturing point cloud data of 3D surface profile at high speed, and from that data, we can easily evaluate the intended location. If non-contact CMM can be used to measure profiles, man-hours would be significantly reduced. It also solves the problems of difficulty in measuring the targeted area and variation in measurement results among inspectors. The same can be said for surface roughness measurement. However, many of the previous non-contact types were susceptible to metallic luster, made measurement unstable, and had poor accuracy, but with recent technological advances, there are signs of a solution, and the release of a practical non-contact CMM is eagerly awaited.

Do you have any further expectations of Accretech?
In recent years, securing personnel has also become a very important issue. Furthermore, it isn't merely a matter of securing personnel but also establishing a training period to nurture their capabilities as inspection staff. However, this is actually quite a challenging task. On the other hand, considering the future increase in demand for aircraft, there is a need to automate inspections and stabilize quality. Therefore, we expect ACCRETECH to provide total solution services such as automation of setups and connect to processing machines, not just services for individual equipment. We hope Kawasaki Heavy Industries and ACCRETECH can work together and be the forerunners in the field of measurement, as we did this time, to open up a new “FUTURE".

Tokyo Seimitsu’s thoughts after speaking
Mr. Ichikawa said he wants his company to reform in order to respond to rapidly changing trends without being afraid of change itself. We were impressed by the company's mindset of tirelessly thinking and acting to translate global predicaments into opportunities – a mindset which has clearly propelled Kawasaki forward into the global company it is today. Moving forward, ACCRETECH will also further evolve so that we may continue supporting Kawasaki Heavy Industries to create amazing products and offer them to the world.


